Showing posts with label wire harness. Show all posts

Wednesday, April 16, 2014

Subaru ECU Placement - Rear Passenger Tail Light Compartment

I've decided to re-position my Subaru ECU in the passenger tail light compartment that is opened up when the VW engine, relay and air snorkel are pulled out.  Here's a basic photo of the protective ECU box I'm installing and its location in the engine bay.

ECU box placement in rear passenger tail light compartment

Many people do not want to put their Subaru ECU in the engine bay, citing things like "the elements will ruin your ECU" or "VW engineers did not put ECUs in the engine bay and they know best".  Well, that was the 1980s and things change as technology and innovation advances.  Besides, if VW engineers know "best", why am I replacing their engine with a Subaru?  :)

Subaru/Vanagon conversion experts likeVanaru (Vanaru.com), Ben @ (benplace.com) and Paul Guzyk (BoulderHC.com), do every conversion this way and are quite successful at it.  I personally chose this location for many reasons:
  1. The wiring harness ends up clean and straight forward - essentially, the wiring harness becomes a true plug-and-play, turn-key installation.  Initially, I went with a RMW harness (their default location for the ECU is in the rear bench seat), but this solution ends up being two harnesses, one for the main engine and another separate sub-harness for the ALT, voltage sensor, AC compressor, starter, fuel pump, and coolant level sensor.  After seeing the slick turn-key solution provided by Vanaru that easily combined all these into a single harness, I just had to redo it that way!
  2. This single, wiring harness is visible 100% from the engine bay rather than having some portion of it tucked away behind the firewall.  I like being able to easily inspect my harness without getting under my van.
  3. The wiring harness wraps around the back and top of the engine bay, staying out of the way of road hazards.  In contrast, when locating the ECU in the rear bench seat, the wiring harness is exposed to these hazards between the firewall and bench seat opening.
  4. It utilizes the newly opened space in the engine bay that would be wasted otherwise.
  5. It opens up room for storage in the rear bench seat or closet, which are two other common locations for Subaru ECUs.  That said, I'm a storage Nazi.  For instance, I'm also removing my rear heater to open up even more space under the rear bench seat. You may not care about storage like I do.
  6. Diagnostic ports (OBD2 and the proprietary Subaru ones) are more easily reached right in the engine bay compared to the rear bench seat area.  So, a mechanic can more easily scan & reset codes from this location.
The photo here shows how I plan to layout the harness.  It is based on the Vanaru design.  It will be basically the same except where noted in RED.  I'll be tying in my ALT harness into the main harness a little differently.

Example Vanaru conversion that I'll be using as a prototype for my wire harness layout and ECU box placement

If you put your ECU in the engine bay, you need to protect it from the elements!  I describe how I am doing this with full step-by-step DIY "how to" here:  http://westycamper.blogspot.com/p/ecu-box.html


Friday, March 21, 2014

Wiring Up VSS and OBD2

Here are my plans to wire up VSS and OBD2 connector from the rear of the van to the front.  It is important to have a good signal for the VSS, so shielded 18 AWG copper wire protected by OEM level sheathing was chosen.  The cable has 6 wires, so the other 3 will serve to send OBD2 power, ground, and codes signal from the rear to the front.  There are only 3 wires required for Subaru codes, so I am going to cut a regular OBD2 cable, splice the three wires I need to send, and only route those to the front female connector.  Also, I have a Subaru diagnostic port (includes an female OBD2 connector, of course) that I found at a UPull & Pay for $2.  I'm going to split the signal to that port as well so mechanics working in the back of the van will also have a signal.

A., B, and C. are all housed in a water-proof poly-carbonate case along with the Subaru ECU.
Depending on whether the 3 PIN connectors are put into the VW black box or kept exposed in the engine bay will determine the quality of connector I use.  At the front of the van, all the wires are protected under the dash, so they will be standard connectors.

Last, I will actually be running 2 cables (e.g., 12 wires total) under that van.  The spare wires will come in handy when hooking up Subaru Cruise Control and aftermarket gauges when the time comes.


Tuesday, February 4, 2014

SubaruVanagon Alt Wiring Design

One of the toughest parts of this SubaruVanagon conversion has been the wiring.  The instructions and diagrams I've seen are hard to understand.  Today, I'm posting a photo I sent to RMW and the subsequent diagram I created to wrap my head around it better.  Hopefully, this will help others, who are in my same boat as well.

The main concern with the design shown in the photo & diagram attached is around the Bl/Rd voltage regulator sense wire.  RMW instructed me to wrap it around, crimp an eye-let on the end and connect it directly to the alternator as shown in the diagram and photo below.  However, I've been told by experts online at SubaruVanagon to connect to the B+ post via a 10 amp fuse in the black box.

Which way do I do it?  I need a tie-breaker!  LOL!!!

UPDATE (February 7) - Tie-breaker results are IN. 

Based on feedback from numerous folks that have done it this way and Paul, my mentor, who says "electrically they are the same result"...  I will implementing as designed here.

Photo of my alternator harness with RMW comments
How the photo translates in my head...

Saturday, January 25, 2014

Subaru Intake Manifold Installed

Today I finally installed the intake manifold back onto the Subaru engine block. To do this, I had to do the following modifications, which were unplanned (e.g.:  undocumented in my 2013 Rocky Mtn Westy Installation instructions :):
  1. Lengthen the Subaru 3 pin temp sensor wires, so they reach the new location on the RMW reverse coolant manifold.  This was my first soldering experience.  It probably shows in the workmanship too.  Oh well!
  2. Remove the corner guard on the Subaru engine because it got hung up on the RMW reverse coolant manifold where it exposed a pipe to the expansion tank.
  3. Bend up some tubing underneath the Subaru intake manifold so it didn't interfere with the relocated Subaru temp sensor.
Once I did these unplanned modifications, the Subaru intake mani seated just fine.  Then, I finished by plugging in all the other intake harness plugs and tightening the bolts to factory specs.  Job done!


When I had Rocky Mountain Westy do my wiring harness, I had them save all the scraps.  Can you tell!?  This came in handy as I was able to sift through and find the exact colored wires for the Subaru temp sensor modification I needed to perform.

I also kept all the connectors, which I may or may not need for extending various parts of the wiring harness.


This was my first soldering experience, but after some expert advice, I was able to wrap and solder the wires.  I used tape to secure the wires and sensor so they didn't move while soldering them.  Think of it as a vice for wires.

The soldering gun I bought was 25w and it did not heat up the wires very well, so I used Paul's, which was beefy and worked much better.


After soldering the wires, I used a heat gun and melted heat shrink around these areas to seal them up.

The final step was to wrap and tape them.  Rather than buy this stuff, I went back to my Subaru donor car and pulled the headlight wiring off then cleaned up and used the wire wrap to protect my newly lengthened temp sensor wires.  It worked like a charm. It is so nice to have a full car to pull parts from as needed :)
End product - extended Subaru temp sensor
And the final product looks like this.  It was longer than necessary, but why skimp on it and have to redo it if it comes up too short?    

The RMW reverse coolant manifold has a pipe extending out for the heater hose that goes to the expansion tank.  This prevented my intake manifold from seating properly on the gaskets.    Unfortunately, this was not documented by RMW and I was puzzled a bit before getting a Hangouts reply from a friend saying, "Mine doesn't have that part on it! Just remove it!".  So, I removed the protective guard (4 bolts) and then it sat better on the block.


Finally, after bending some vacuum/breather tubing running under the manifold, it seated perfectly.


Rear engine protective cover in the way


Monday, January 20, 2014

How To Handle Reverse Coolant Manifold Temp Sensor

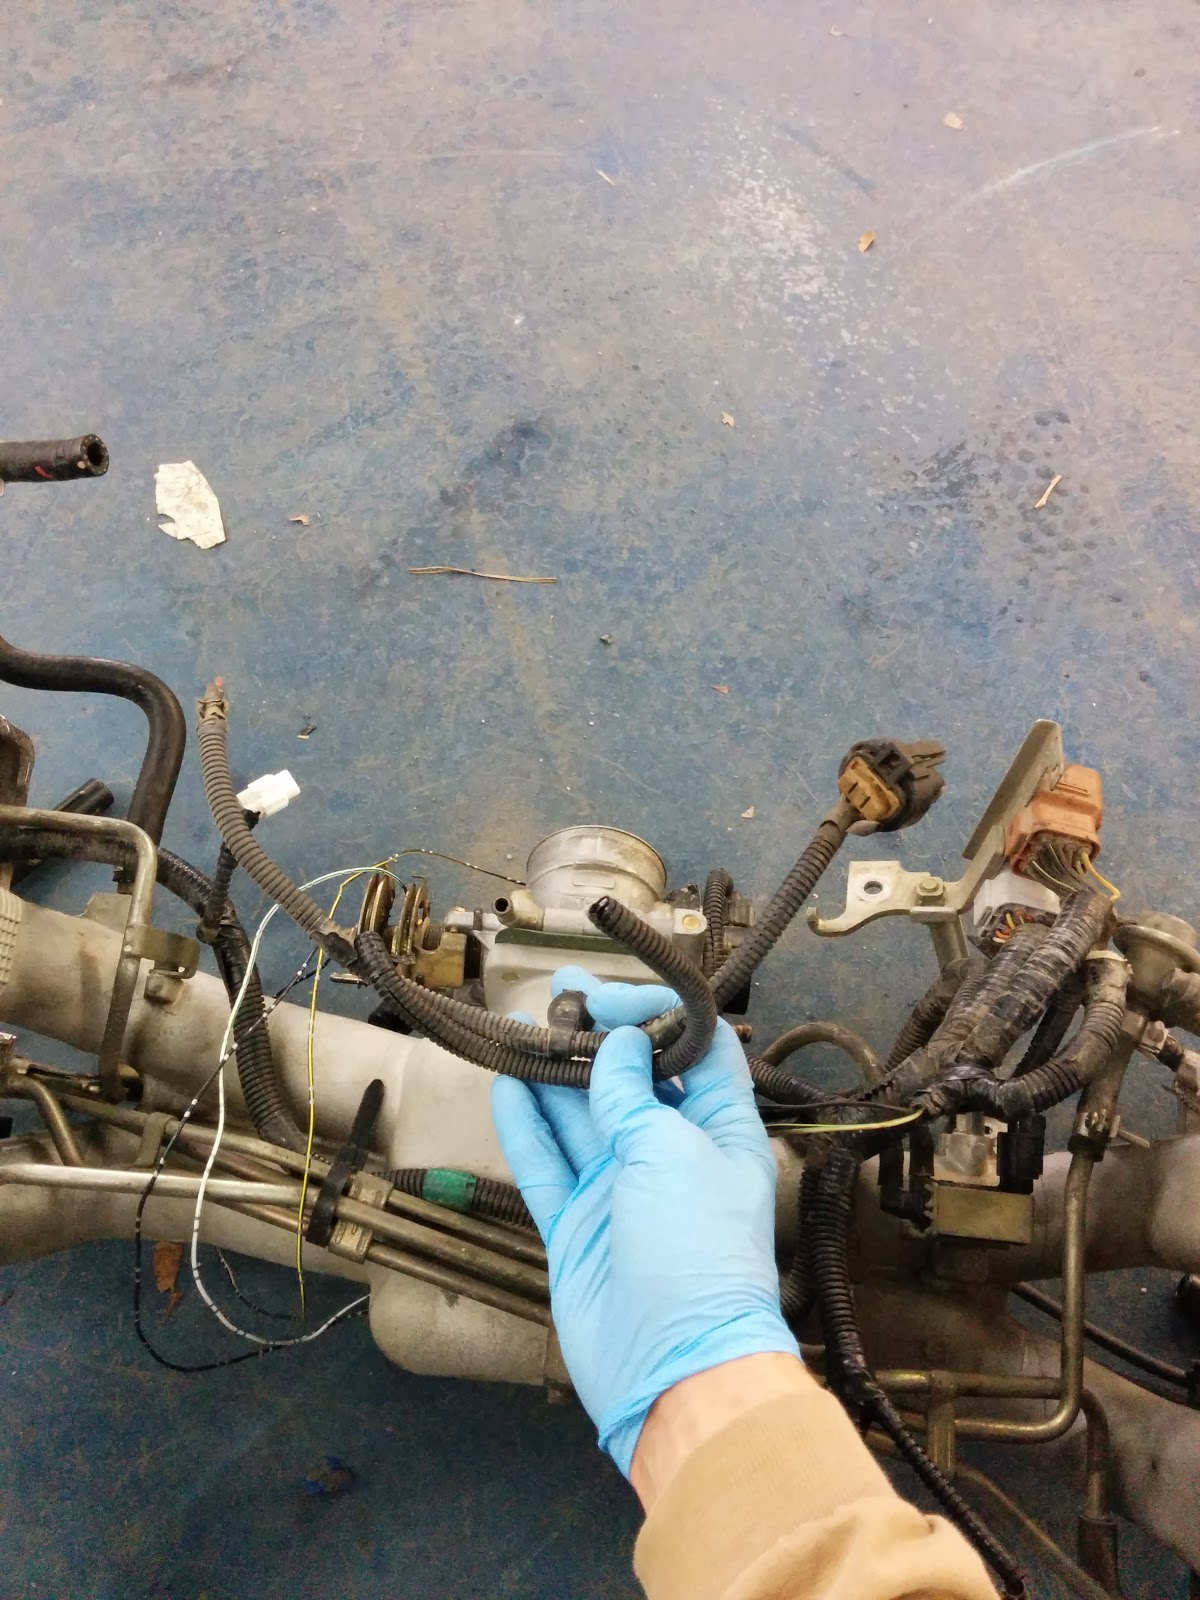
I checked and all the reverse coolant manifolds (Rocky Mtn Westy, SmallCar, Tom Shiels, etc.) have the temperature sensor in the same place, which leads to a problem connecting the Subaru intake wire harness back up to it. As you can see in the photo, mine is at least 6" short.  I figure there are 3 options to resolve this:
  1. Get both a male & a female 3 pin connector, more wires, and make a pluggable extension.
  2. Cut off the end, extend it with similar gauge wire to make it reach
  3. Peel back the Subaru harness, stretch the wires for the sensor over and hope they reach.
I'm opting for #2, as recommended by RMW.
#1 seems about the same amount of work, but I'd have to source the connectors.  #3 seems like a lot of work for something that may not even fit after it is done, or maybe it will fit, but will be so tight, it will suck to work with.  So, #2 it is.


Wednesday, December 4, 2013

Labeling the Subaru Wire Harness

Baxter stopped into the kitchen as I was deciphering and then labeling the critical wires in this rat's nest!  He called upon his demon powers to provide the much needed help labeling everything.  The two beers on the counter were just the start of the night!  :)


Labeling the Subaru Harness